How to Set Up Tap to Pay on Your Phone: Google Wallet and Apple Pay
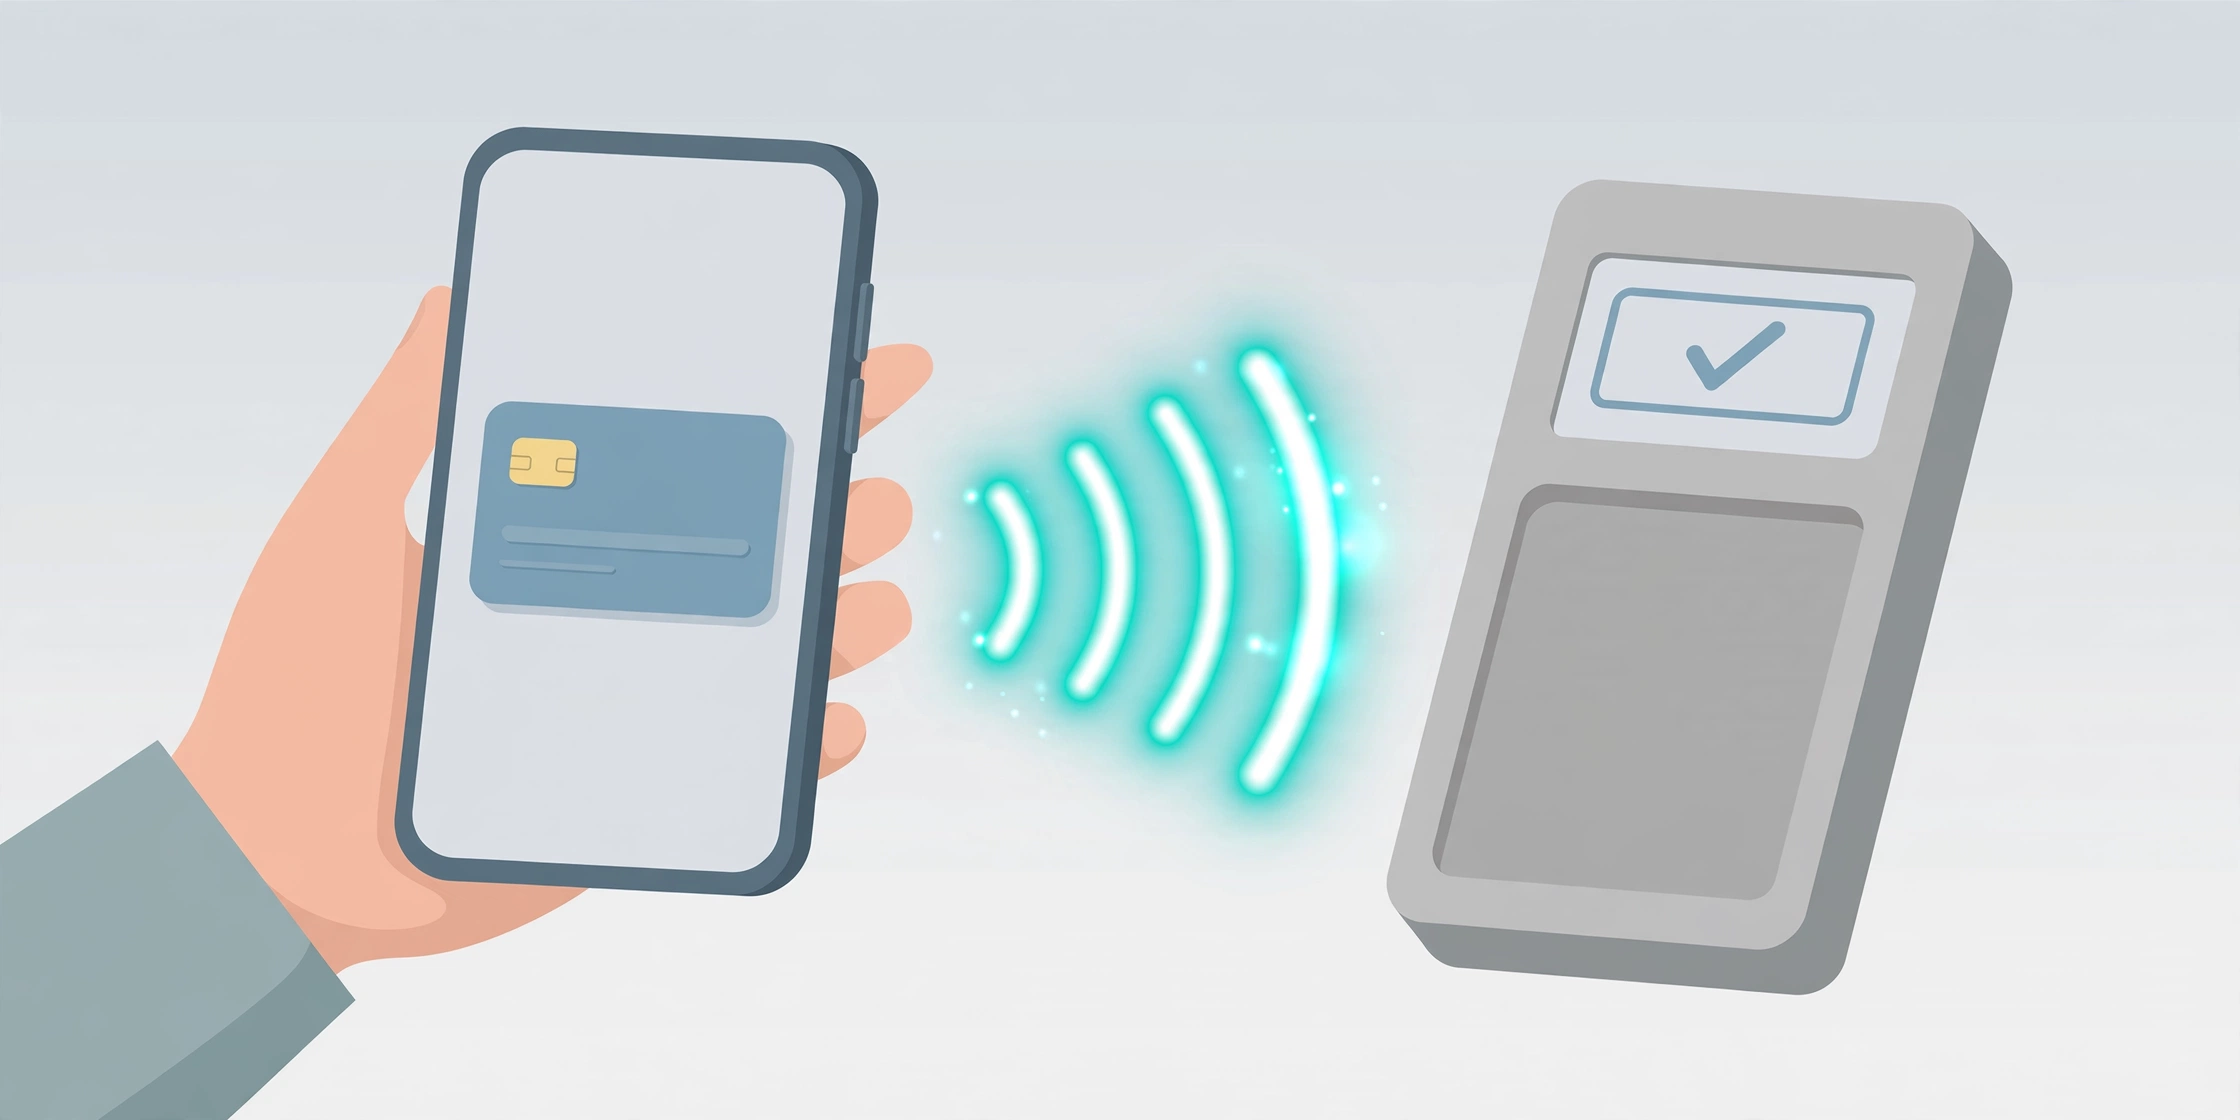
Tap to pay turns your phone into your wallet. Once it is set up, you can pay by holding your phone near a card reader — no card, no PIN pad, and no digging through your bag at the checkout. Android phones use Google Wallet, while iPhones use Apple Pay, and both take only a few minutes to set up. Here is how to do it on either phone, and what to check when it does not work.
What you need before you start
Before you begin, check that you have the basics in place. On Android, you need a phone with NFC, Android 9 or later, a screen lock such as a PIN, pattern or fingerprint, and a debit or credit card from a bank that supports Google Wallet. On iPhone, you need a card from a bank that supports Apple Pay, an Apple Account signed in on the phone, and Face ID, Touch ID or a passcode set. If your bank does not support your phone’s wallet yet, the card simply cannot be added — that decision is your bank’s, not the phone’s.
How to set up Google Wallet on Android
- Open the Google Wallet app. If it is not on your phone, install it from the Google Play Store and sign in with your Google Account.
- Tap Add to Wallet at the bottom, then tap Payment card, then New credit or debit card.
- Point your camera at the card to scan it, or tap Enter details manually and type the number, expiry date and security code yourself.
- Tap Save and continue, read your bank’s terms and tap Accept.
- If your bank asks you to verify the card, follow its prompts — usually a text code or a check inside your bank’s app. Never share that code with anyone.
- Turn on NFC. Open Settings, search for NFC, and switch it on. On many phones it sits under Connected devices, then Connection preferences, then NFC.
- Make Google Wallet the default. On the same NFC screen, tap Contactless payments, then Payment default, and select Google Wallet. Menu names vary slightly between Pixel, Samsung and other brands, so searching Settings for NFC is the reliable route.
- Check that everything is ready. In the Wallet app, tap your profile picture, then Payment setup (sometimes shown as Tap to pay setup). It flags anything still missing, such as NFC, the default app or a screen lock.
For more detail, see this Google Wallet guide.
How to set up Apple Pay on iPhone
- Open the Wallet app on your iPhone.
- Tap the Add Card button, shown as a plus sign, then tap Debit or Credit Card, then tap Continue.
- Hold your iPhone near the chip on your card so it can be read, or tap Enter Card Details Manually and type the details yourself. You can also start from your bank’s app by looking for Add to Apple Wallet.
- Accept your bank’s terms if they appear, then finish whatever verification your bank asks for — a text message, a call, or a check in your bank’s app.
- Wait until the card appears in Wallet as ready to use. The first card you add becomes your default card; to change it, touch and hold a card in Wallet and drag it to the front of the stack. If you have an Apple Watch, add the card there too from the Watch app on your iPhone, under My Watch, then Wallet and Apple Pay.
For Apple’s official instructions, see Apple Support’s Apple Pay setup guide.
How to pay in a shop
Paying is the easy part. On Android, wake and unlock your phone, then hold the back of it near the contactless reader for a few seconds. You do not need to open the Wallet app first — a blue check mark on your screen confirms the payment went through, and your default card is charged. On iPhone, double-click the side button, glance at your phone to confirm with Face ID (or rest your finger on Touch ID on older iPhones), then hold the top of the phone near the reader. If you have several cards, open Wallet first and pick the one you want to use.
Is tap to pay safe?
Yes — in most ways it is safer than handing over a physical card. Your real card number is not shared with the shop; instead, the phone sends a one-time token or device number, so a stolen terminal reading reveals nothing useful. A screen lock is required, so a locked phone cannot pay on its own. If your phone is lost or stolen, remove its cards straight away: on iPhone use Find My to mark the phone lost, and on Android use Find Hub to lock or erase it. For more on locking down your phone, read our guide to phone privacy and security settings and our guide to setting up passkeys. If you ever lose the phone itself, follow our lost-phone guide.
What to do when tap to pay does not work
Start with the three usual culprits. First, check that NFC is switched on — it is the most common reason a terminal ignores a phone. Second, check that Google Wallet is set as the default payment app on Android; on iPhone, check the card is verified in Wallet. Third, make sure the phone is unlocked when you hold it near the reader. If it still fails, check whether the terminal accepts contactless payments at all, try a different card, and if the bank keeps declining, check with the bank — a card that is not verified or a bank that has blocked the transaction will not work no matter what the phone does. Restarting the phone fixes the occasional stuck NFC connection too.
Once tap to pay is set up, paying takes seconds and your card stays safely in your pocket. Set it up now, while you have your card and your bank’s app to hand, and add a second card as a backup so a single declined card never leaves you stuck at the till.