How to Set Up Passkeys on Your Phone: Ditch Passwords for Good
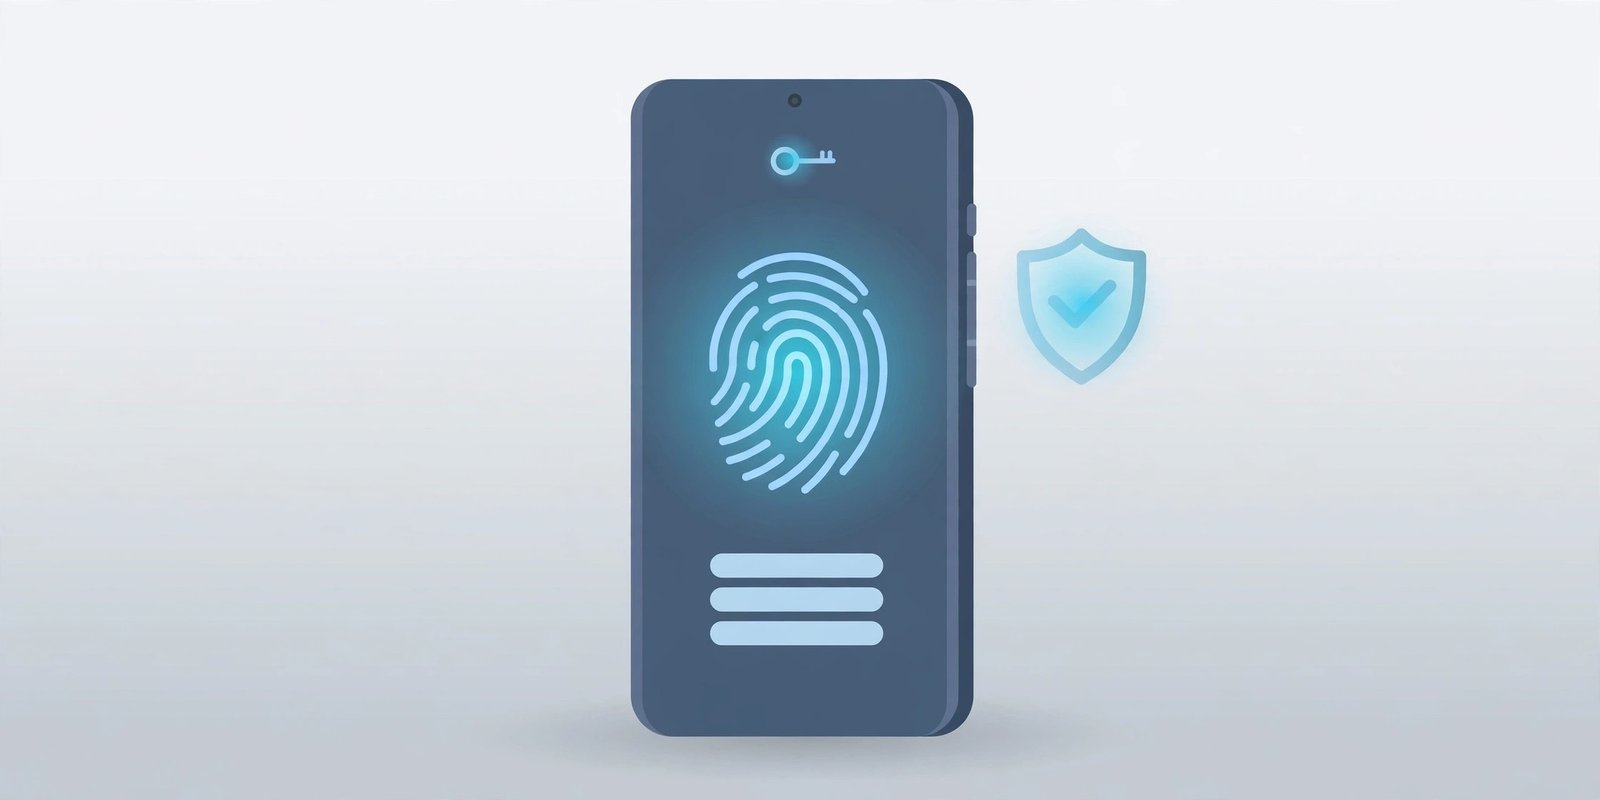
Passwords are the weakest link in your online security. They get leaked, phished and forgotten, and reusing them across sites makes one breach a problem everywhere. Passkeys fix that. A passkey replaces your password with a secure key stored on your phone, and you unlock it with your fingerprint or face. Here is how to set one up on Android and iPhone.
What Is a Passkey?
A passkey is a pair of cryptographic keys: one stays locked inside your phone’s secure chip, and the other sits with the website. When you sign in, your phone proves it holds the private key — nothing is typed, nothing can be phished, and there is no password to leak. Passkeys are an open standard backed by Apple, Google and Microsoft, and they now work on most big services, including Google, Apple, Amazon, PayPal and WhatsApp.
Before You Start: 3 Things to Check
1. Set a screen lock. A passkey is unlocked with your PIN, pattern, fingerprint or face, so your phone needs a screen lock first. If you do not have one, set it up in Settings before you continue.
2. Update your phone. Passkeys need reasonably current software: iOS 16 or later on iPhone, or Android 9 or later on Android. The smoothest experience is on newer versions — Android 14 and iOS 18 or later.
3. Decide where your passkeys will live. On iPhone that is iCloud Keychain, and on Android it is Google Password Manager. Both sync your passkeys across your own devices for free, so pick the one that matches the phone you use most.
How to Set Up a Passkey for Your Google Account
Your Google account is the best place to start — it is the key to Gmail, YouTube, Drive and your Android phone itself.
1. On your phone, open your browser and go to g.co/passkeys, then sign in to your Google account if asked.
2. Tap Create a passkey.
3. Confirm it is you with your fingerprint, face or PIN.
4. That is it — the passkey is saved. On Android it goes to Google Password Manager; on iPhone it is saved to iCloud Keychain.
Next time you sign in to Google on that phone, you will be offered the passkey instead of your password. On the Google Account Security page, also check the Skip password when possible option so Google asks for your passkey first.
How to Set Up Passkeys on iPhone
Apple takes a slightly different approach: there is no “create passkey” button in Settings. You create a passkey inside the website or app, once it offers one.
1. Turn on iCloud Keychain. Go to Settings > [your name] > iCloud > Passwords and turn on Sync this iPhone. On iOS 17 or earlier the same switch is called Passwords and Keychain. Apple also requires two-factor authentication on your Apple Account for this — your phone will walk you through turning it on if it is off.
2. Turn on AutoFill. Go to Settings > General > AutoFill & Passwords and switch on AutoFill Passwords and Passkeys, or your iPhone will not offer saved passkeys at sign-in.
3. Create your first passkey. Sign in to a supporting site or app with your password, open its account or security settings, and look for Create a passkey or Add a passkey. Tap it, confirm with Face ID, and tap Continue when your iPhone offers to save it.
4. Find it later. On iOS 18 or later, your passkeys live in the standalone Passwords app. On iOS 17 or earlier, they are in Settings > Passwords.
Note: Apple creates a passkey for your Apple Account automatically once you are on iOS 17 or later with two-factor authentication turned on.
How to Set Up Passkeys on Android
1. Make sure a screen lock is set and Google Password Manager is your selected provider. Check under Settings > Passwords, passkeys & autofill — the wording varies by brand, and on Samsung phones it is under Settings > General management > Passwords & Autofill.
2. Open Chrome and go to the account’s security settings, for example your Google, Microsoft or GitHub account.
3. Tap Create a passkey (or Add a passkey). A sheet will ask where to save it — choose Google Password Manager.
4. Confirm with your fingerprint, face or screen lock.
You can review all your saved passkeys later at passwords.google.com, or in Chrome’s password settings. Some sites can also create a passkey automatically when you already have a saved password — you can switch that off if you prefer to decide each time.
How to Add a Passkey in WhatsApp
WhatsApp is one of the most useful places to set one up, since it is an account people rarely think to protect. On Android, open WhatsApp and go to Settings > Account > Passkeys, then tap Create passkey. On iPhone, the same option is in the app’s account settings. More than a billion people now use passkeys to sign in to WhatsApp, according to the company.
How to Sign In with a Passkey on Another Device
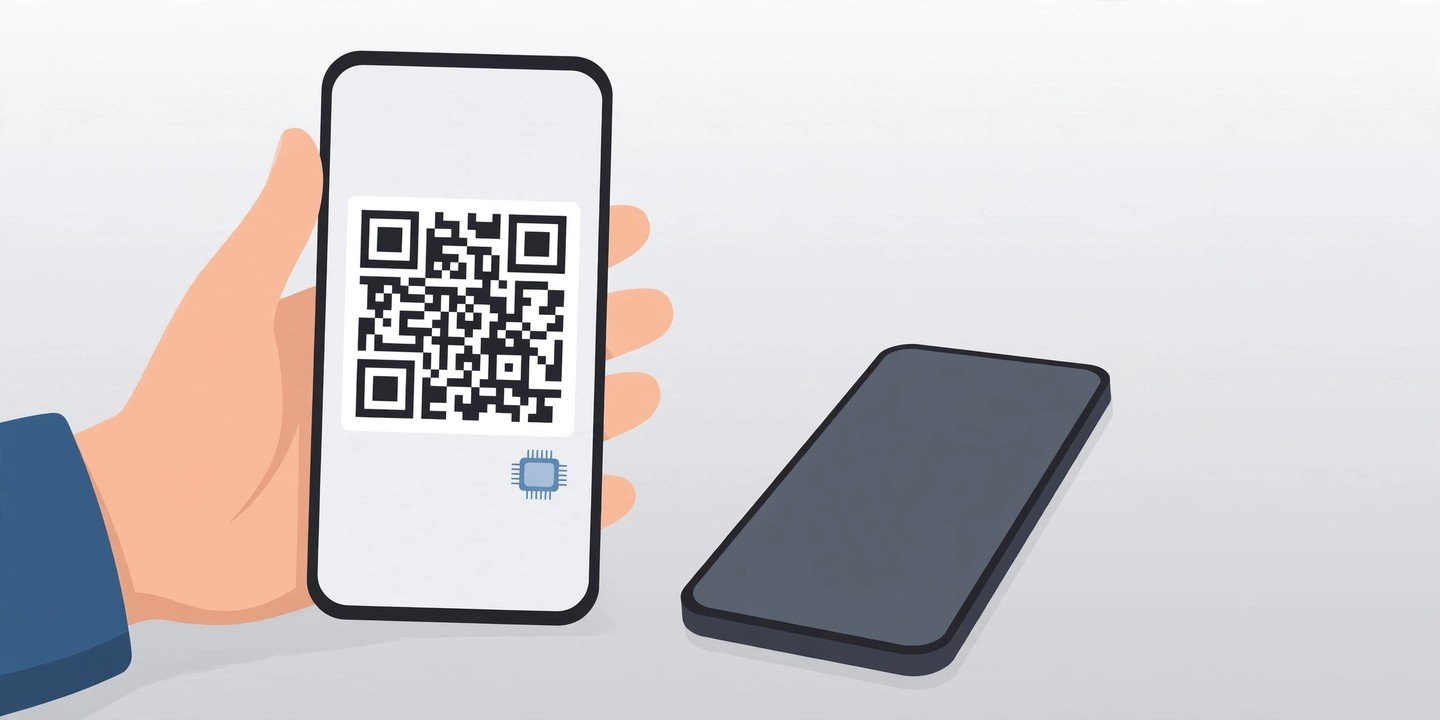
Need to sign in on a borrowed computer or a friend’s phone? You do not have to type a password. On the sign-in screen, choose the passkey option, then Save on another device or Use a phone or tablet. A QR code appears — scan it with your phone’s camera, confirm with your fingerprint or face, and you are in.
3 Mistakes to Avoid
Creating a passkey on a device you do not own. Anyone who can unlock that device can use your passkey, so only create them on phones and computers you personally own and use regularly.
Deleting your passwords straight away. Most services still keep your old password as a backup, and some do not let you go fully passwordless yet. Keep your passwords strong and unique until the site lets you remove them — and check our guide to the privacy and security settings to change today while you are at it.
Having no way back in. If you lose your phone, your passkeys are only recoverable if they are synced — through iCloud Keychain or Google Password Manager — or if you have another signed-in device. Keep at least one recovery option, such as a second device or a recovery email, and make sure your phone is backed up — see how to back up your phone.
The Bottom Line
Setting up your first passkey takes about two minutes, and every one after that takes less. Start with your Google account, then add the apps you use every day, and leave your passwords in place as a backup until each service lets you go fully passwordless. Your future self — the one who never has to reset a forgotten password again — will thank you.