How to Set Up an eSIM on Android and iPhone: A Simple Step-by-Step Guide
An eSIM does the same job as a physical SIM card, but there is nothing to insert — your carrier plan is downloaded onto a chip already built into your phone. That makes switching phones, adding a second number, or getting a local plan while travelling much simpler, once you know the steps. This guide covers how to check your phone supports eSIM, how to set one up on iPhone and Android, and how to move it to a new phone.
What Is an eSIM?
An eSIM is a digital SIM built into your phone. Instead of a plastic card, your carrier sends you a QR code, a link in its app, or a transfer from your old phone, and your phone downloads the plan. Your number, plan and bill stay the same. Most phones can store several eSIMs, but only one or two lines can be active at a time, depending on the model.
First, Check Your Phone Supports eSIM
Not every phone does, so check before you buy a plan. On iPhone, eSIM is supported on iPhone XS, iPhone XS Max, iPhone XR and every newer model. On Android, support varies by model, but most recent flagships do — Google Pixel 3 and newer, and Samsung Galaxy S20 series and newer, plus Galaxy Z Fold and Z Flip models. The quickest check on any phone is to dial *#06# and look for an EID number: if you see a 32-digit EID, your phone has an eSIM chip. You can also look in Settings — on iPhone, Settings > Cellular (or Mobile Data) and look for Add eSIM; on Android, look for an Add eSIM or Add SIM option under Network & internet or Connections. Your carrier must also support eSIM, and your phone must be unlocked if the eSIM comes from a different carrier.
Before You Start: What You Need
Get your eSIM details from your carrier first. This is usually a QR code sent by email or shown in the carrier’s app, or a manual SM-DP+ address and activation code. Connect to Wi-Fi. The profile downloads over the internet, so stay on a stable Wi-Fi connection until it finishes. Keep your old phone nearby if you are transferring. Moving an eSIM to a new phone is easiest while the old phone still works.
How to Set Up an eSIM on iPhone
- Go to Settings > Cellular (or Mobile Data in some regions) and tap Add eSIM.
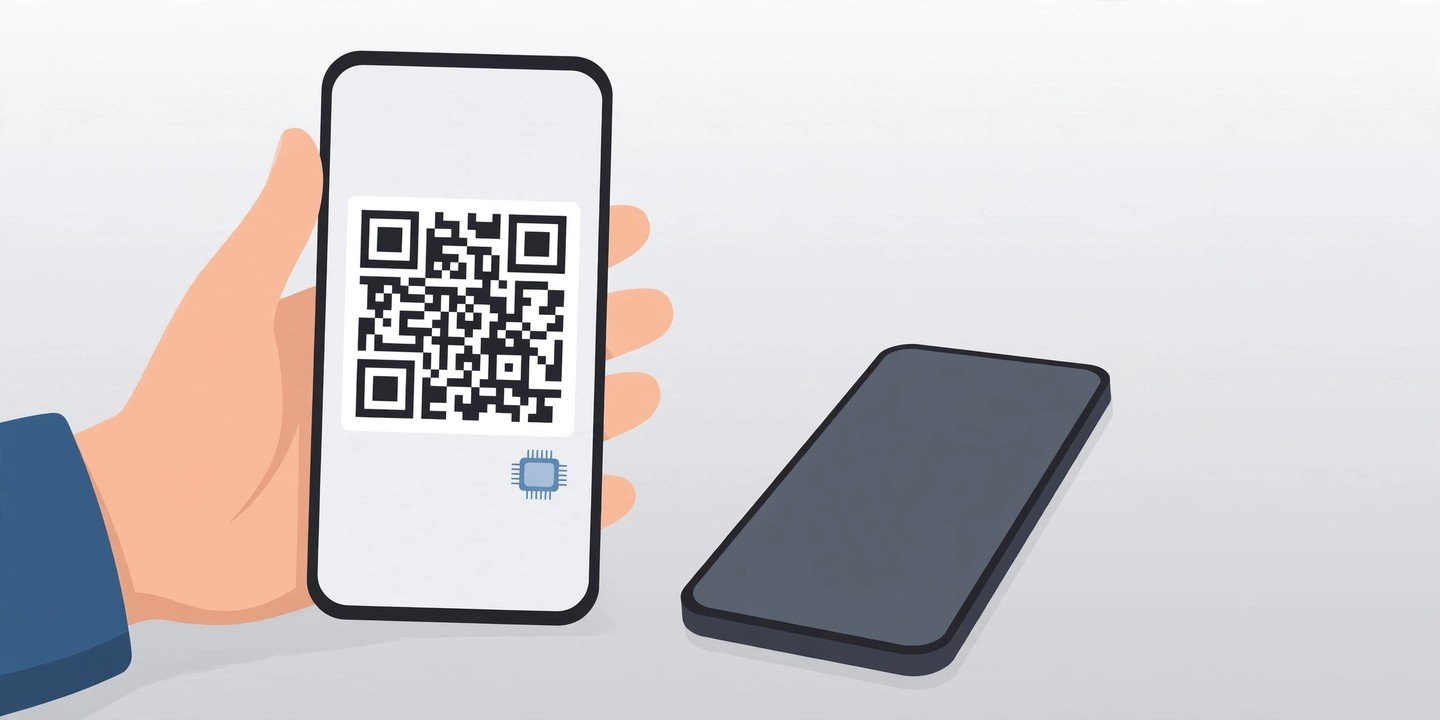
- Tap Use QR Code and scan the QR code your carrier gave you. If your carrier sent a notification saying a cellular plan is ready to be installed, tap that notification instead.
- If you do not have a QR code, tap Enter Details Manually and type in the SM-DP+ address and activation code from your carrier.
- Tap Continue and wait for the plan to download — this usually takes under a minute.
- Label the plan (for example Personal, Work or Travel) and choose which line to use for calls, messages and mobile data when asked.
How to Set Up an eSIM on Android
The menu names vary slightly by brand, so use the path for your phone:
- On a Google Pixel: go to Settings > Network & internet > SIMs, tap Add SIM, then scan your carrier’s QR code or enter the details manually.
- On a Samsung Galaxy: go to Settings > Connections > SIM manager, tap Add eSIM, then scan the QR code or enter the details manually.
- On other Android phones: look under Settings > Network & internet (or Connections) for an Add eSIM or Add SIM option and follow the same steps.
- Wait for the profile to download over Wi-Fi, then label the plan and pick your default line for calls and data.
How to Transfer an eSIM to a New Phone
If you still have your old phone, transfer during setup — it is the easiest route. On iPhone, eSIM Quick Transfer needs both iPhones signed in to the same Apple Account, nearby with Bluetooth on, and the old phone unlocked. During setup, choose to transfer your number, or later go to Settings > Cellular > Add eSIM > Transfer From Nearby iPhone. On Android, the transfer option appears during setup or under Settings > Network & internet > SIMs > Add SIM > Transfer a SIM from another device on supported phones and carriers. If a direct transfer is not offered, ask your carrier for a fresh eSIM QR code for the new phone — do not delete the eSIM from your old phone until the new one is working.
Using Two Lines at Once
An eSIM makes dual SIM easy: you can keep a physical SIM and an eSIM, or two eSIMs, on the same phone. Label each line clearly, pick a default number for calls and texts, and choose one line for mobile data — only one line can use mobile data at a time. For travel, add a local or travel data eSIM alongside your home number, set the travel line as your data line, and turn off data roaming on your home line so it cannot run up charges. Keep your home line on for calls and texts if you still need to receive verification codes.
If It Does Not Work
No signal after installing: turn on Data Roaming for the new eSIM line, then restart the phone. Full signal bars with no internet is often just this one setting. The Add eSIM option is missing: your phone or carrier may not support eSIM — check for the EID number with *#06# and confirm with your carrier. The QR code will not scan: use the manual entry option with the SM-DP+ address and activation code, or ask your carrier to reissue the code. Never delete an eSIM to fix a problem unless your carrier tells you to — deleting it removes the plan, and you will need a new code to get it back.
Setting up an eSIM takes only a few minutes once you have the QR code from your carrier. Check compatibility first, install on Wi-Fi, label your lines, and keep the old phone nearby when you move to a new one — and you will never need a SIM ejector tool again. If you are switching phones, read our guide on how to back up your phone first, and our guide on how to transfer data to a new phone so nothing gets lost in the move.