How to Take Better Photos with Your Phone Camera: 10 Tips That Actually Work
Your phone is probably the best camera you own — not because of megapixels, but because it is always with you. The difference between an average snapshot and a photo worth keeping usually comes down to a few small habits, not expensive gear. These 10 tips work on modern iPhones and Android phones, and most of them cost nothing.
1. Clean the Lens First
Before you shoot anything, wipe the camera lens with a soft cloth or the inside of your shirt. Phones live in pockets and bags, and a smudged lens is the single most common reason photos look soft or hazy. Make this a habit every time you open the camera — it takes two seconds and beats any editing fix later.
2. Turn On the Grid
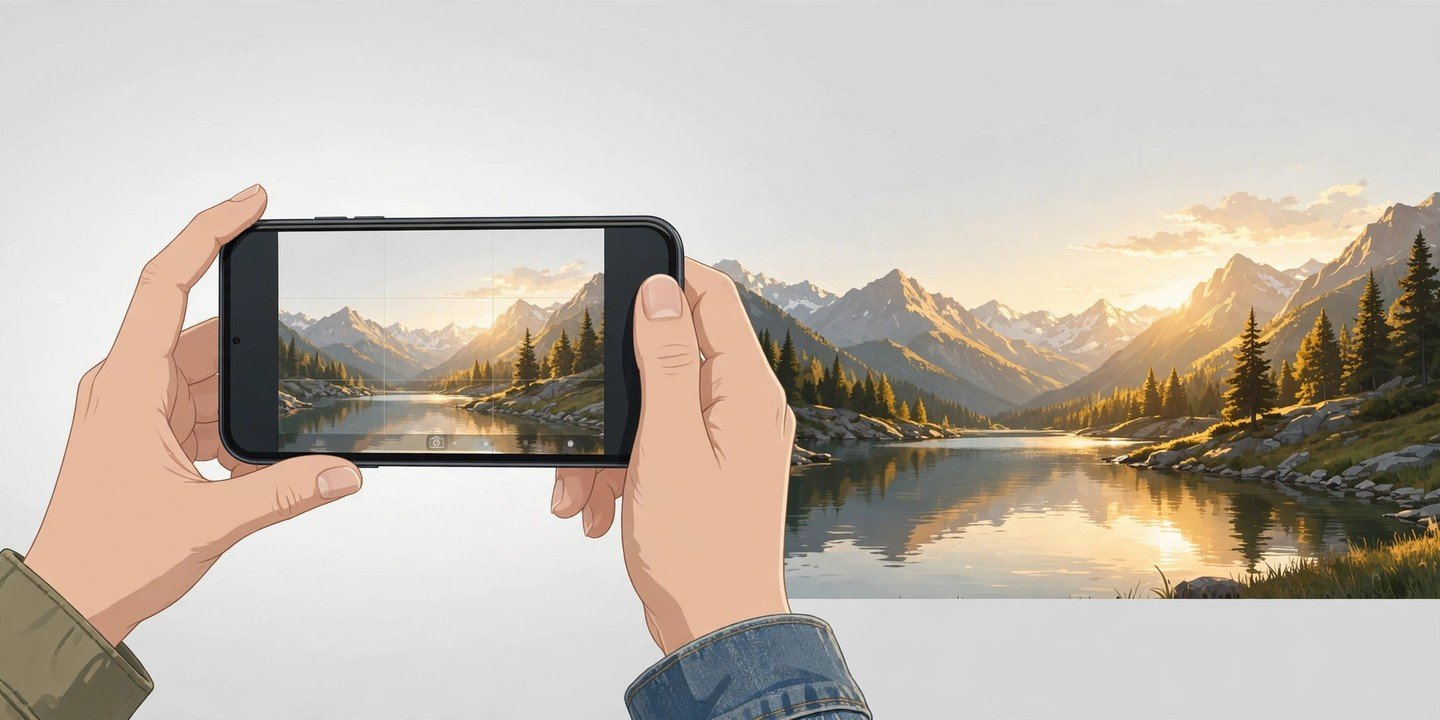
The grid divides your screen into nine equal sections, which makes it far easier to compose a balanced shot. Place your subject where two lines cross instead of dead centre, and keep horizons on a grid line instead of splitting the frame in half.
- iPhone: go to Settings > Camera and turn on Grid.
- Samsung: open the Camera app, tap the gear icon and turn on Grid lines.
- Pixel: open Camera, tap Settings, then More settings, then choose a Grid type.
Menu names differ slightly by brand, but every major phone has this option.
3. Tap to Focus, Then Set the Brightness
Your phone guesses what to focus on, and it often picks the background. Tap your subject on the screen before you press the shutter — eyes in a portrait, a single flower in a field, the dish on the table. A focus box appears, and a small sun icon or slider sits next to it. Drag it up to brighten the shot or down to darken it. If a face is too dark against a bright window, tapping the face fixes the exposure instantly.
4. Lock Focus and Exposure
When your subject is not moving, lock the settings so the phone stops changing its mind while you recompose. On iPhone, press and hold on your subject until “AE/AF Lock” appears. On most Android phones, a long press does the same thing, or shows an AF/AE lock option. Tap anywhere else on the screen to release the lock. This is especially useful for food, products and portraits, where you want the same settings across several shots.
5. Use the Lens Buttons, Not Pinch Zoom
Most phones now have two or three cameras, shown as buttons such as 0.5x, 1x, 2x, 3x or 5x. Tap one of those instead of pinching to zoom. Pinch zoom is usually digital zoom, which just crops the image and throws away detail. If you need to get closer and your phone has no telephoto lens, move your feet — stepping closer almost always beats zooming in.
6. Chase Good Light
Light matters more than any setting. Soft, directional natural light — early morning or late afternoon, often called the golden hour — flatters almost everything. Put the light in front of your subject, not behind it, unless you deliberately want a silhouette. Avoid harsh midday sun, which creates hard shadows on faces. Indoors, move your subject near a window instead of turning on the flash, which flattens skin tones and creates glare.
7. Let Night Mode Do Its Job — and Hold Still
In low light, modern phones switch to a night mode automatically on supported models — on iPhone, Night mode is available on iPhone 11 and later. When the moon icon appears, hold the phone as still as you can until the capture finishes, or brace your elbows on a table or wall. A tiny tripod helps even more. Moving during a long exposure is what turns night shots into blurry smears, so stability matters more than anything else here.
8. Use Portrait Mode for People — at the Right Distance
Portrait mode blurs the background and makes your subject stand out, but it works best at a normal distance — roughly an arm’s length to a couple of metres away. Step back if the blur looks patchy around hair or glasses, and avoid busy backgrounds with lots of thin branches or wires, which confuse the depth effect. For groups, switch back to the regular Photo mode so nobody at the edges ends up half-blurred.
9. Use Burst Mode for Action
Kids, pets and sports do not wait for you to focus. Hold the shutter button down to shoot a burst (on iPhone, swipe the shutter button left; on many Android phones, hold it down), then pick the sharpest frame afterwards and delete the rest. For a steadier shot, use the 3-second or 10-second timer and prop the phone against something — it removes the shake from tapping the screen.
10. Edit Lightly — Less Is More
A quick edit can rescue a good photo, but heavy filters usually make it worse. In the Photos app on iPhone or Google Photos on Android, start with straightening the horizon and a small exposure adjustment, then stop. A slightly darker photo can be brightened in editing; a blown-out sky cannot be recovered, which is why tip 3 matters so much. Save the original before experimenting so you can always go back.
The Bottom Line
Better phone photos are not about buying a new phone — they are about cleaning the lens, tapping to focus, using the grid and paying attention to light. Turn the grid on once, practise locking focus a few times, and these habits become automatic within a week.
Once you start shooting more, your storage fills up fast — if that happens, read our guide on how to free up storage without deleting your photos. And if your phone is also running slowly, our Android speed-up tips will help. For more on the fundamentals, see this detailed guide to taking better photos with a phone.
Note: menu names and feature availability vary by phone model and software version — Night mode, Portrait mode and some camera controls are only available on supported models. If an option described here does not appear on your phone, check your camera settings for a similar name.